
Now Reading: Easy Meal Prep for Beginners: A Simple Weekly Plan
-
01
Easy Meal Prep for Beginners: A Simple Weekly Plan
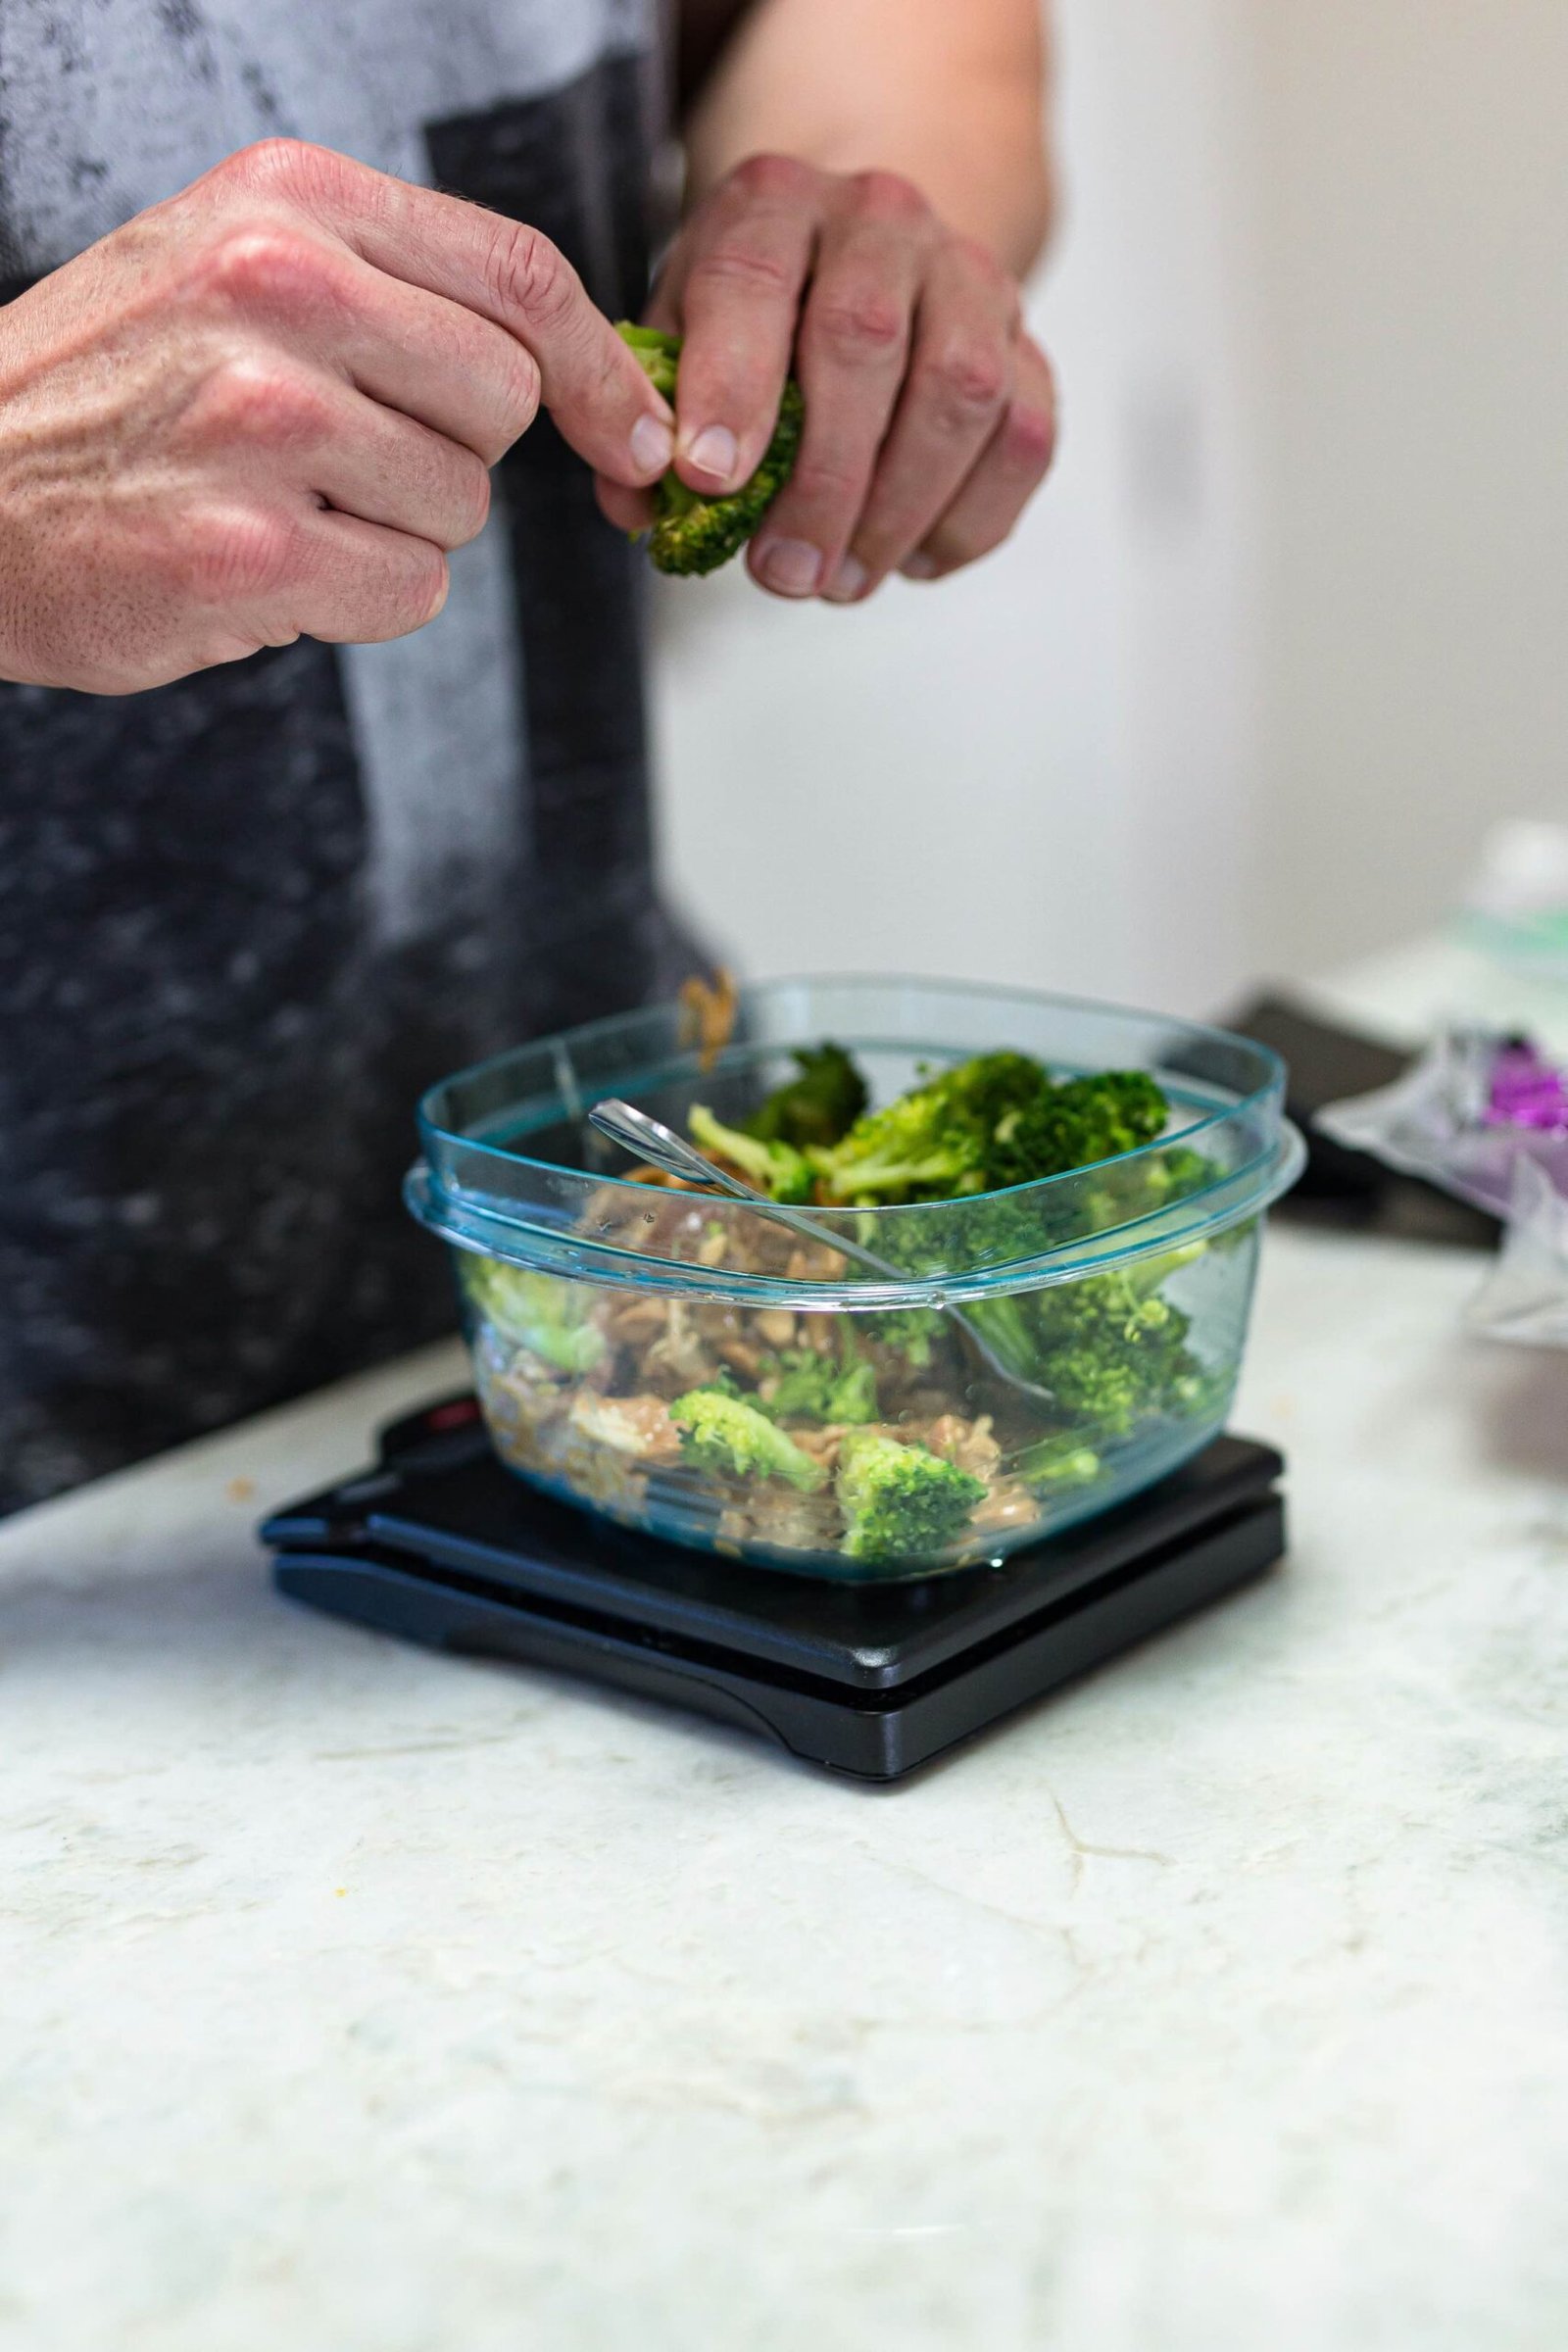
To start meal prep, pick one meal and repeat it. Cook a grain, prepare a protein, add your vegetables, and portion everything for the week. For five days, keep the first meals in the fridge and freeze the rest on prep day.
Begin with lunch. Having five ready lunches means you won’t have to decide what to eat each day, and it won’t overwhelm your kitchen or force you to plan every meal. Once that feels easy, try adding breakfast or a second dinner recipe.
The plan below gives you five lunches for one person, so you’ll have a lunch each day for five days. It uses chicken, chickpeas, brown rice, and roasted vegetables. You’ll find a shopping list and a storage schedule from Sunday to Friday. Adjust the portions to fit your appetite, and add fruit, yogurt, or another side if you want extra.
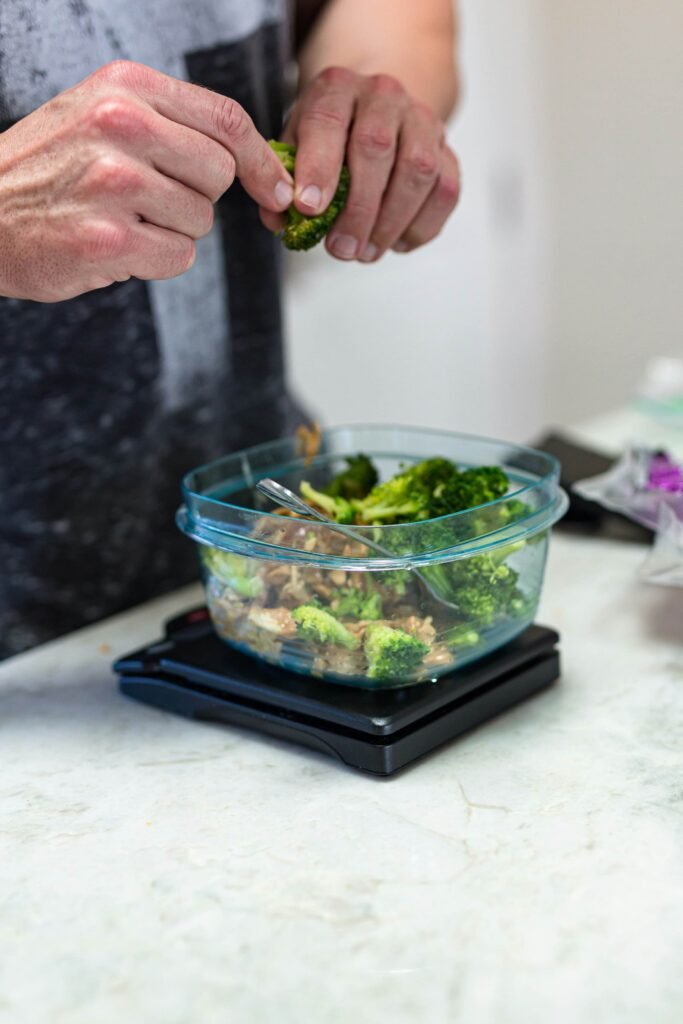
What is meal prep and how much should you actually be making?
Meal prep means doing some cooking or assembling before you need to eat. You might portion out full meals, cook some ingredients to combine later, or just wash your vegetables and make your sauce ahead of time.
If you’re new to meal prep, try making a cooked base with two proteins. This way, you buy fewer ingredients, but your lunches don’t have to be identical. Here, chicken gives you three portions and chickpeas give you two. Adding lemon and salsa gives some variety without extra recipes.
Look at your schedule before shopping. If you have a lunch meeting on Tuesday and work from home on Friday, you might only need to pack three meals. Cook for the days you need, instead of making extra meals you won’t use.
A simple five-day meal prep plan
This plan assumes you cook on Sunday and eat lunch from Monday to Friday. Each meal has about 1/2 cup of cooked brown rice, a fifth of the vegetables, and the right amount of protein. These are starting portions, not a strict diet.
| Day | Lunch | Where it goes on Sunday | What to do before eating |
| Monday | Lemon chicken, rice and roasted vegetables | Refrigerator | Reheat; add lemon afterward |
| Tuesday | Salsa chicken and vegetable rice bowl | Refrigerator | Reheat; add salsa afterward |
| Wednesday | Cumin chickpeas, rice and vegetables | Refrigerator | Reheat; finish with lemon |
| Thursday | Lemon chicken and vegetable rice bowl | Freezer | Move to the refrigerator Wednesday night to thaw; reheat thoroughly |
| Friday | Salsa chickpea and vegetable bowl | Freezer | Move to the refrigerator Thursday night to thaw; reheat thoroughly |
On Sunday, freeze the meals for Thursday and Friday. The USDA recommends eating refrigerated leftovers within 3 to 4 days. For a five-day plan, you need to freeze some meals or cook again midweek. Five containers in the fridge don’t mean five days of safe storage.
If your meal is still partly frozen at lunchtime, give it more time to reheat and check the center. Don’t thaw your meal at your desk.
Printable grocery list for five lunches
Print this section or copy it into your shopping app. Check your pantry first, since these amounts cover the lunches listed above. You’ll need separate groceries for breakfast, dinner, and any snacks.
Protein and grain
- 1 pound boneless, skinless chicken breast
- One 15-ounce can chickpeas, preferably no-salt-added
- 1 cup dry brown rice
Vegetables and fruit
- 1 pound broccoli florets
- 1 pound carrots
- 1 pound bell peppers
- 2 lemons
The vegetable weights listed are for the edible, trimmed parts. If you plan to remove large stalks, tops, or cores, buy a bit extra. Precut vegetables are fine if they make meal prep easier for you.
Pantry ingredients
- 3 tablespoons olive oil
- 2 teaspoons paprika
- 1 teaspoon ground cumin
- 1 teaspoon dried oregano
- ½ teaspoon fine salt, plus more to taste
- Black pepper
- At least ¼ cup prepared salsa; follow the jar’s refrigeration instructions after opening
You’ll need five shallow, food-safe containers (two should be freezer-safe), two sheet pans, a saucepan with a lid, a colander, a knife, and a food thermometer. Label the containers based on how you’ll reheat them. Use labels or masking tape to tell frozen meals apart from refrigerated ones.
How to cook the week’s lunches
Start by reviewing the steps and making space in your fridge and freezer. Give yourself enough time to store the cooked food, since cooling and storage are important parts of meal prep.
1. Start the brown rice
Cook 1 cup of dry brown rice following the package directions, including the water amount and rest time. Since brands and types of rice vary, always use the instructions on the package instead of a standard ratio.
You’ll need 2½ cups of cooked rice for five ½-cup portions. If you end up with extra, freeze it separately. If you want bigger portions next time, increase the dry rice and check the package yield before shopping.
Once the rice is cooked, divide it into shallow containers and put it in the fridge right away. Don’t leave it in the pan while you finish the other steps.
2. Roast the vegetables
Preheat your oven to 425°F. Cut the carrots into ½-inch pieces, the peppers into about 1-inch pieces, and the broccoli into bite-sized florets. Dry the vegetables before adding oil.
Toss the vegetables with 2 tablespoons olive oil, ½ teaspoon oregano, ¼ teaspoon salt, and pepper. Spread them in a single layer on two sheet pans. Roast for 20 to 35 minutes, turning once. Check the broccoli and peppers first and take them out if they’re done. The carrots should be easy to pierce with a fork.
Don’t crowd the pans, as this traps moisture. If your oven can’t fit both trays, cook in batches. For variety, try roasted sprouts, carrots, or squash from our healthy Thanksgiving sides collection as bowl ingredients. Use the amounts from those recipes.
3. Cook the chicken separately
After the vegetables are cooked, use a clean baking dish for the chicken. Keep raw poultry and its utensils separate from cooked food, and wash your hands and any surfaces that touched the raw chicken.
Coat the chicken with the rest of the olive oil, 1 teaspoon paprika, the remaining ½ teaspoon oregano, ¼ teaspoon fine salt, and pepper. Bake at 425°F and start checking after 18 minutes. Thicker pieces will take longer to cook.
Check the thickest part of the chicken with a food thermometer to make sure it reaches 165°F, which is the federal minimum for poultry. Let it rest for a few minutes, then slice it with clean utensils and divide it into three equal portions. Don’t rely on color to judge if it’s done.
4. Warm the chickpeas
Drain and rinse the chickpeas. Put them in a small saucepan with 1/4 cup water, the cumin, and the remaining 1 teaspoon paprika. Simmer for 5 to 8 minutes, stirring now and then, until hot. Add more water if the pan gets too dry.
Divide the chickpeas into two portions. A standard can gives about 1½ cups of drained chickpeas, though the amount may vary. Taste before adding more salt, especially if your can already has salt.
5. Portion, label, and store
Split the vegetables among the five lunches. Add the rice and the right portion of chicken or chickpeas. Label each container with the cook date and the date it should be eaten by.
Put the Monday, Tuesday, and Wednesday meals in the fridge. Cool the Thursday and Friday meals in shallow containers and freeze them the same day. Keep the lemon and salsa separate and add them when you’re ready to eat.
FoodSafety.gov advises that perishable food should be refrigerated within two hours (or within one hour if the temperature is above 90°F). Don’t just leave a whole batch of food out to come to room temperature. The fridge should be at 40°F or below and the freezer at 0°F or below.
How long will meal prep last in the fridge?
Follow the shortest storage time for any ingredient in your meal. Moving food to a new container or reheating it doesn’t make it freshly cooked.
| Food | Refrigerated storage guidance | How this plan uses it |
| Cooked chicken | 3–4 days at 40°F or below | Monday and Tuesday portions refrigerated; Thursday portion frozen on Sunday |
| Cooked rice, vegetables and chickpea dishes | Apply USDA’s general 3–4-day leftover guidance; follow any shorter product-specific instruction | Early lunches refrigerated; Thursday and Friday meals frozen on prep day |
| Hard-cooked eggs, if adding breakfast | 1 week refrigerated | Keep as a separate breakfast ingredient |
| Egg, chicken or tuna salad | 3–4 days refrigerated; does not freeze well | Make a small batch rather than using it for all five lunches |
| Raw chicken awaiting cooking | 1–2 days refrigerated | Cook or freeze promptly after purchase |
The chicken/egg/salad limits are from the FoodSafety.gov cold chain chart. The rice and veggie row is based on general guidelines for leftovers rather than a specific FoodKeeper entry for rice. For any particular food or commercial product, check the label and the USDA FoodKeeper resource.
Storage times depend on proper handling and refrigeration. If food has been left out longer than recommended, throw it away. Just because it smells normal doesn’t mean it’s safe.
How should you reheat and carry prepared lunches?
Reheat leftovers until they reach 165°F all the way through. For a rice bowl, add a splash of water, cover with a microwave-safe vented lid, and stir halfway through. Use a thermometer to check in more than one spot, especially if reheating from frozen. The time needed depends on your microwave, the amount of food, and the container.
Carry your cold lunches in an insulated bag with at least two cold sources,like frozen gel packs. If you have access to a fridge, put your meal in it when you arrive. An insulated bag alone won’t keep a chicken lunch cold all morning.
How do you make weekly meal prepping less monotonous?
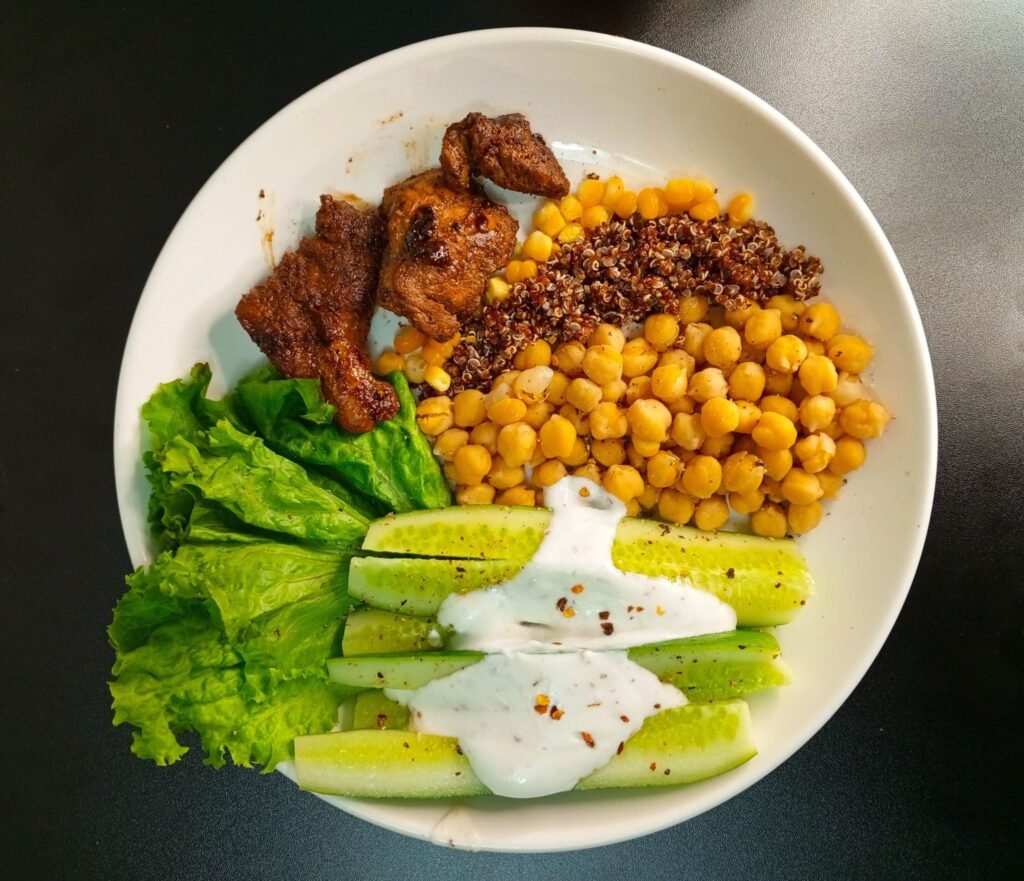
Switch up one part of your meal to keep things interesting. Next week, try a different grain, swap green beans for broccoli, or use a seasoning you enjoy. Keep track of how many portions you actually eat.
For a meat-free version, replace the chicken with two extra cans of chickpeas. Drain and rinse all three cans, season them, and divide them among the five lunches. This changes the nutrition and portion size, so it’s not a perfect protein swap, but it’s a practical option.
If you don’t like thawed roasted peppers, keep the grain and protein for Thursday and Friday frozen, and cook your vegetables fresh in the middle of the week. The best plan is one you’ll actually want to eat after reheating.
What about breakfast and dinner?
Add breakfast after you’ve got lunch under control. Oats, fruit, and a yogurt you enjoy are all you need. You can cook a few eggs for the start of the week. Add these to your shopping list separately from lunch. You don’t need to prep five breakfast jars to be prepared.
For dinner, leave space for fresh cooking and flexibility. A stocked freezer, some washed vegetables, and a few reliable meals are often more helpful than filling more containers. If you often skip a prepared meal, try making fewer portions next week.
What if you only have time for a very short prep session?
Just make two lunches if you’re short on time. Use a microwaveable grain pouch, canned beans, and quick-cooking vegetables. You can still portion, label, and keep the food cold without roasting lots of pans or handling raw chicken.
Before your next shopping trip, check what’s left in your fridge and freezer. Use what you have to plan your next batch. After a successful first week, you’ll know which lunches you liked and what you want to make again.
Sources
- USDA FSIS: How do I handle leftovers safely? General refrigerator and freezer handling, shallow containers and the three-to-four-day leftover window.
- FoodSafety.gov: Cold Food Storage Chart Storage limits for cooked poultry, raw poultry, hard-cooked eggs and prepared salads.
- FoodSafety.gov: Four Steps to Food Safety Cross-contamination prevention, prompt cooling and refrigerator/freezer temperatures.
- FoodSafety.gov: Safe Minimum Internal Temperatures Cooking chicken and reheating leftovers to 165°F.
- USDA FSIS: How do you keep a bag lunch safe? Using at least two cold sources for transported perishable lunches.
- FoodSafety.gov: FoodKeeper USDA-developed storage reference for individual foods.

Kevin Fletcher is a seasoned writer with over 10 years of experience crafting engaging and informative content in the health, fitness, and wellness industries. Passionate about helping readers live healthier lives, Kevin combines research-backed insights with practical tips to inspire positive change.